

How To Repair Sprung Elastic In Jacket Sleeve
This commodity will guide y'all through the repair of a 'stitch-through-construction' down jacket with a damaged sleeve. Past sewing on an additional piece of fabric over the damaged area.
This repair requires basic sewing (machine) skills, you volition need:
A canvas of cloth (of around 10-fifteen denier)
A sewing machine
Tailor'due south scissors
A seam sipper
2 lengths of rubberband
A lighter
Sewing machine thread
Tailor's chalk
Stride 1 - Unpicking The Seams.


Unpick the elasticated gage and sleeve seam, be careful with the sleeves binding equally it volition be reattached later. Yous need to unpick further up the sleeve than the expanse yous want to repair then that you can lay flat the area that yous'll be working on.
Stride 2 - Roughly Cut The Cloth to Size.


Cut out a foursquare peice of material. This needs to be significantly larger than the damaged surface area you volition be recovering. It will exist trimmed to fit after. Then, using the tailor'due south chalk, mark both sides of the highest baffle seam you will want to recover from. Ensure yous option a seam that is high enough to encompass the total area you lot are repairing.
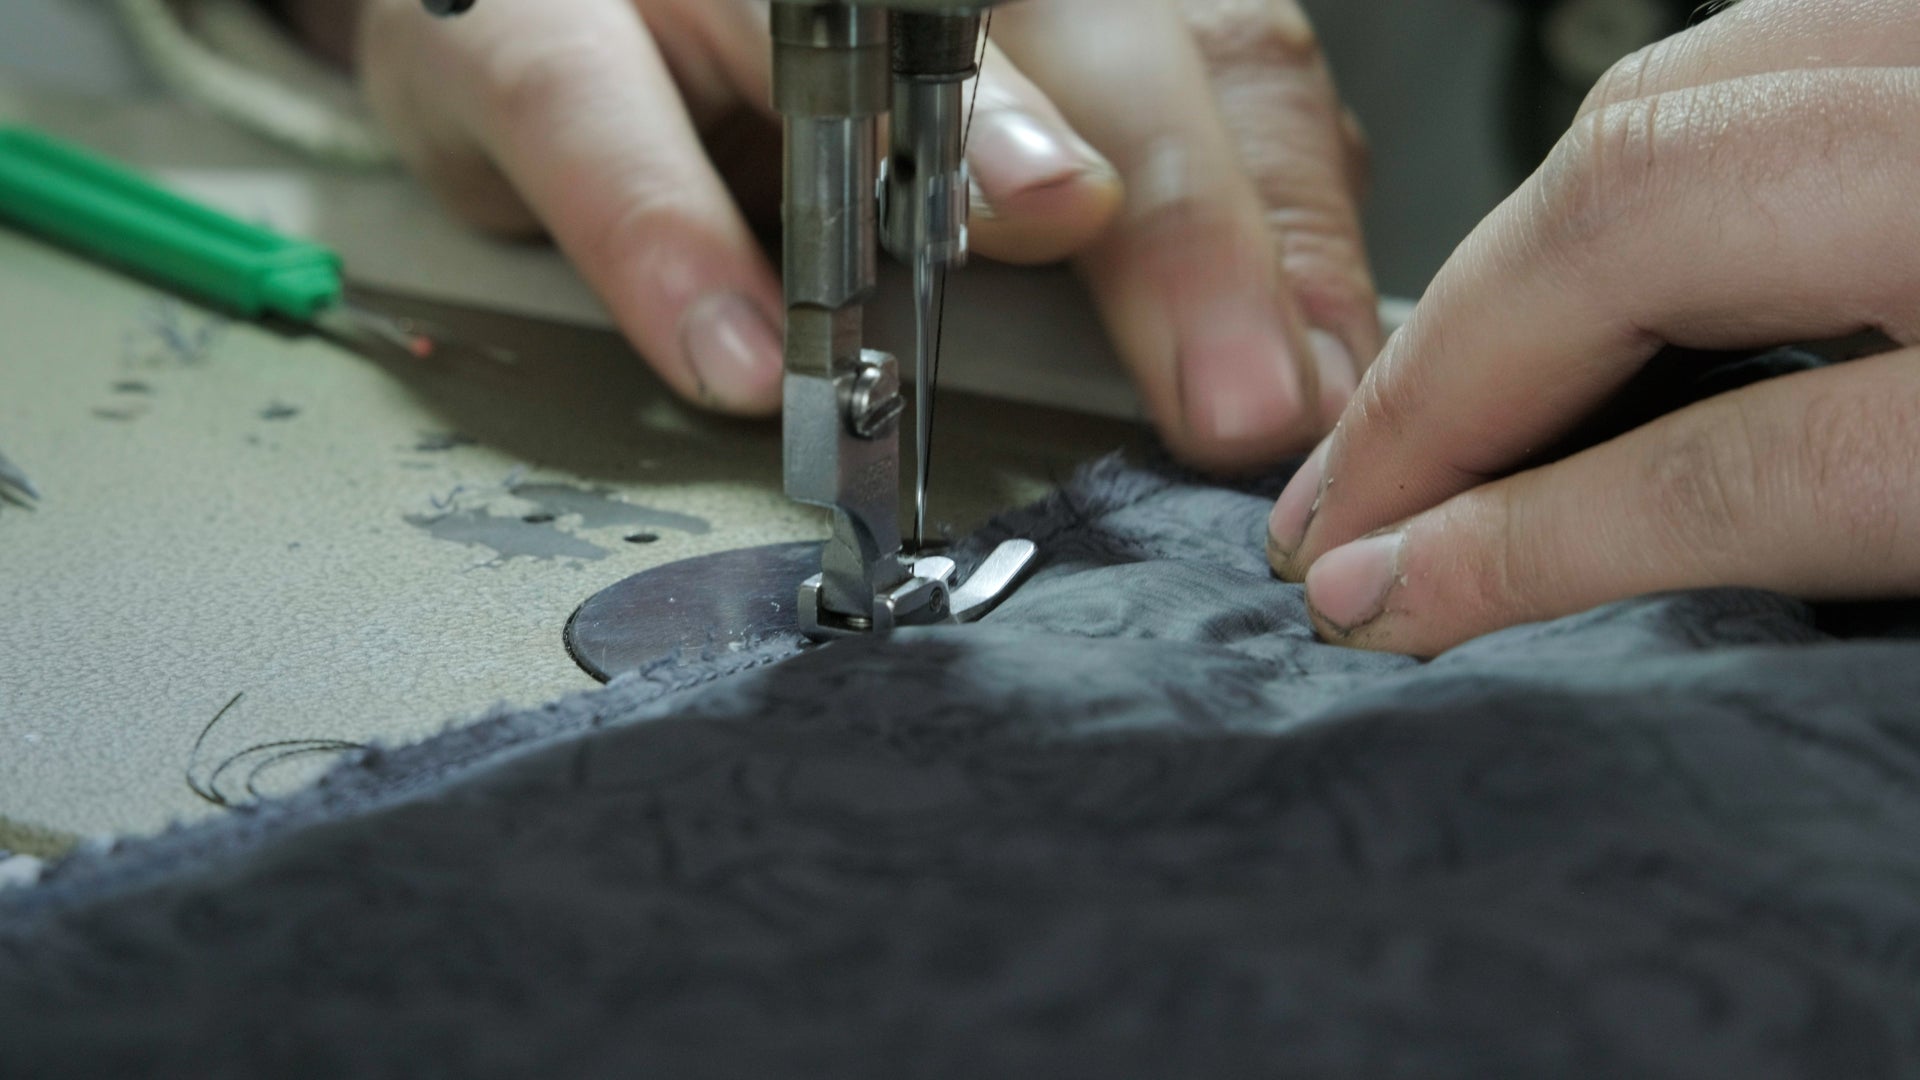
Footstep three - Attaching the Fabric


Now for the sewing! Ensure the outer face of the fabric is face down on the outer of the jacket sleeve and rotate information technology so the top of the fabric just covers the baffle seam you lot take previously marked, all the baffle seams below this demand to be visible. Now keeping the fabric lined upward flip the sleeve over and sew along the inside baffle seam. At present trim the excess seam fabric to around 1cm. Flip the sleeve over and topstitch the same seam this keeps the cloth flush with the jacket. Ensure you lot are stretching the sleeve and textile slightly for best results.
Stride 4 - Sewing The Edges.


Sew downward each edge of the sleeve to attach the fabric to the jacket. Make sure to go on the sleeve stretched as you sew. The bottom edge of the sleeve needs to exist sewn on terminal.
Step 5 - Trimming Excess

Trim off the excess fabric.
Stride half dozen - Resewing The Bamboozle Seams


Flip the sleeve back over and stitch forth each inside baffle seam covered by the repair.
Pace 7 - Resewing The Sleeve Seams


At present it is time to sew the sleeve dorsum together. Pull the jacket within out and carefully follow where the original seam was. At present reattach the binding too, you may have to sew over this twice to brand sure it's all attached.
Step viii - Adding The Elastic Cuffs.


Add a new piece of rubberband to both cuffs. Doing both means the repair looks more like 'part of the jacket'. You don't need to unpick the other sleeves sometime cuff if you don't desire, it can exist added over the top and look just as practiced! When measuring the new elastic confronting the former cuff brand it slightly shorter to account for the stretch information technology will take lost; run a lighter over the cut ends of the elastic to stop it from fraying. When sewing on the new rubberband, first sew the elastic into a loop and so onto the jacket starting at the sleeve seam for best results.
Step 9 - Done!

Done! Your jacket sleeve is as good as new and you won't lose anymore down!
Please feel free to inquire any questions in the comments below.

Source: https://summiteerequipment.com/blogs/news/repairing-a-down-jacket-with-a-new-fabric-panel
Posted by: carbonefaigh1973.blogspot.com
0 Response to "How To Repair Sprung Elastic In Jacket Sleeve"
Post a Comment